My bike has a 95" motor from Makie. On the Dyno it put out 116 horsepower, 115 pound feet of torque. I've done Works dual rate rear shocks and Race Tech front springs. It's pretty dialed in, but at high(er) speeds, it would wag a bit. I heard that these True-Tracks can take away that tail wag, or "rear steer".
Anyone that knows me knows that I'm not a master mechanic, but whatevs, I'll give this a go. Here's what you get (sorry for the stock photo, forgot to take pictures of mine):

Two parts, one front, one rear, and four bolts. The one that looks like a "T" attached to the little bracket on the left is the front unit. Obviously, the part on the right is for the rear. I heard/read that the rear installation was the hardest, so I decided to start there. I began by getting the bike up on the lift.

Remove the lower belt guard on the primary side of the bike (if you still have one). Three 3/8" bolts, quick and easy. I also needed to pull off my primary side rear passenger peg assembly. Instructions say to loosen the two nuts on the rear motor mount, but to leave the bolts inserted so the motor doesn't drop. Pretty easy, but you're gonna need a long extension for one ratchet and two 9/16" sockets. I had to flip my bolts around so that the bolt heads were on the primary side and stuck through to the brake side. If you need to do that, just make sure to do one at a time.

Now you need to get the True-Track threaded through the tiny little space between your rear master cylinder and swing arm pivot. There are some wires and lines back there, too. Just be patient, takes a little twist and turn and it slips right in.

You can see the True-Track laying just behind the rear master cylinder. This is where it got a tad tricky. You need to align the two threaded holes in the True-Track with the motor mount bolts that you just removed the nuts from and then get them started into the True-Track.

I removed the shocks from the swing arm. This allowed me to move it up or down and actually gave me some extra room. Notice my super high tech wheel jack. Getting those bolts started into the True-Track took the help of my lovely wife. Girl can turn a wrench with the best of 'em. Don't forget blue loctite! Now, you need to get the other end of the True-Track lined up with the rear frame bolts. It doesn't say in any directions, but just unscrew the two pieces, which would have made getting part "one" in, aligned and threaded a lot easier, and it DID make getting part "two" aligned and bolted up easier.

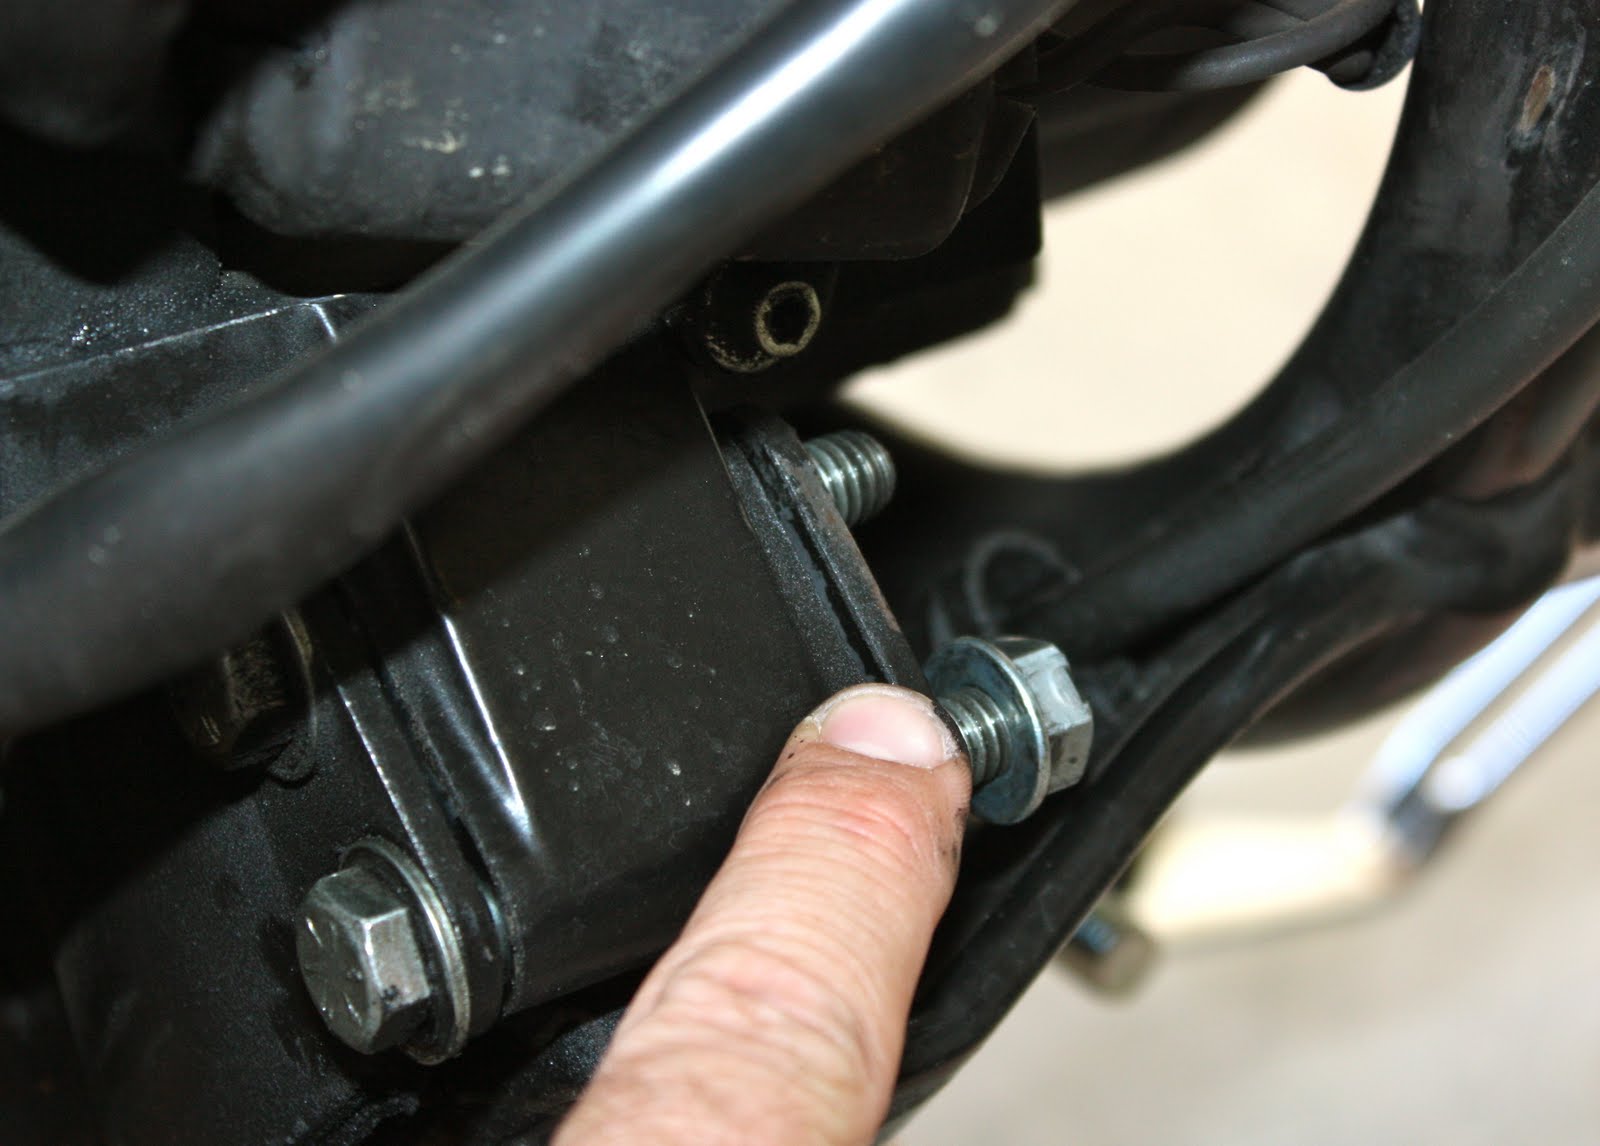
Take the bottom rear frame bolt all the way out and replace it with one of the new, longer units supplied by True-Track. Get it in far enough to hold the motor up. Pull the top bolt out. Now you can insert the True-Track bracket over the top of the lower bolt and lock it into place. Then insert the second bolt that was provided by True track. Torque each to 30 ft./lbs. Reattach the two pieces of the True-Track, using the adjustable threads as needed. Tighten down the button heads on the True-Track. Lock down the jam nuts. Done.


Then I moved to the front. This was a little more straight forward, but it was still tight. I hit my big ol' bald head on the brake caliper about 17 times.

There are four bolts and two nuts (Ha!) involved with this. Start by removing the two nuts on the motor mount.
Thread the small bracket of the True-Track onto the bolts you just exposed. Again, blue loctite.

Then remove the two motor mount bolts. Kinda freaky, and the motor did drop a tiny bit in the mount. Enough that I couldn't get the new bolts lined up, even using a slave drive. So, GM Motors bottle jack to the rescue.

Insert the new, longer bolts through the True-Track bracket and torque to 30 ft./lbs. Tighten the button heads on the bracket. Snug the jam nuts. Make final bracket adjustment to factory specs, 3/8" between bracket and adjustment bolt. Done.


While the bike was up on the lift, I did a safety check, made sure everything was snugged up as it should be. Double checked to make sure nothing was binding and that all the new stuff was tight and right. I had to come inside and feed the kids, so no ride report yet. Hopefully soon!
No comments:
Post a Comment